Using Kaltura in Your Unity Course Work

Kaltura is a versatile video platform that enables students to create, edit, and share video recordings for course assignments and discussions. Integrated directly into Canvas, Kaltura provides a seamless user experience. You can easily access Kaltura within the text editor of any assignment or discussion, or through the ‘My Media’ button located in the green taskbar in Canvas.
Definitions
Webcam: Your computer’s built-in camera
Screen Capture/Screencast: Recording your computer’s screen in order to share a slideshow presentation, website, etc.
Note: This Year, Unity transitioned from Canvas Studio to Kaltura for recording, posting and submitting videos in courses. You are encouraged to start using Kaltura instead of Canvas Studio right away.
Recording in ‘My Media’ (Kaltura) in Canvas
Although you can record and upload videos—such as webcam or screen captures—directly within an assignment or discussion, using My Media offers additional features. It allows you to access Kaltura’s video editor and review or edit automatic captions. Once your video is complete, you can embed it into an assignment or discussion post to complete your submission.
Step 1: navigate to  My Media via the green Navigation Bar to the left.
The page should look like this:

Step 2: Click the  button and select
 ![]() .
.
You can also use Kaltura’s desktop application, ![]() , but it will require you to download the application.
, but it will require you to download the application.

Once you select Express Capture, this window will display. By default, your camera and microphone will be on.

Step 3: Choose your settings. Express Capture allows you to enable your camera, microphone, and screen recording simultaneously.

Be sure to carefully review all instructions before starting your recording.
- Webcam + Screen Capture + Microphone: Use all three when you’re required to appear on camera and share your screen.
- Screen + Microphone only: Use these when you don’t need to appear on camera, but must share your screen.
- Webcam + Microphone only: Use these when you need to be on camera, but don’t need to share your screen.
- Microphone only: Use this when you only need to share the audio of yourself speaking, and don’t need to share your screen or be on camera.
If your assignment requires a screen capture, Kaltura will prompt you to choose what to share. You can choose to record a specific browser tab, a specific application window, or your entire screen.

- Chrome Tab: Great for presenting Google Slides, websites, or the online version of PowerPoint.
- Window: Ideal for the desktop version of PowerPoint or other standalone applications.
- Entire Screen: Best if you’ll be switching between different windows or browser tabs during your screen capture.
Step 4: Start your recording via the big red button ![]() .
.
After recording your video in Kaltura, you’ll have three options:
Record Again, Download a Copy, and Use This. Before selecting Use This, take a moment to review your video. If needed, you can choose ![]() to make improvements. For best results, consider doing a quick test run first to ensure your video meets expectations before recording the final version.
to make improvements. For best results, consider doing a quick test run first to ensure your video meets expectations before recording the final version.
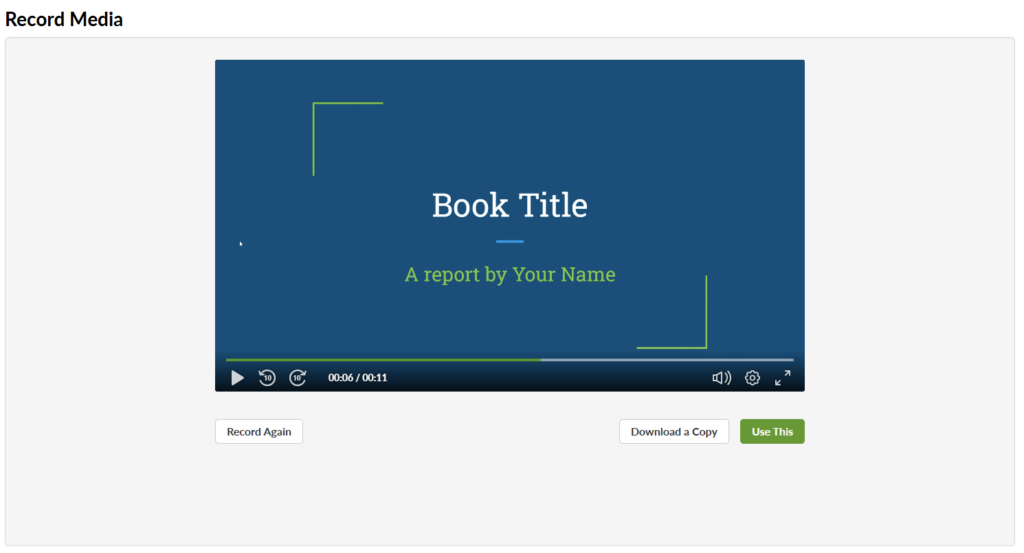
Once you’ve confirmed your video is ready, click . You’ll then be prompted to add details for your video. Be sure to complete the Name and Description fields. There’s no need to change the Publishing Status—your video will automatically be published as soon as you embed it into an assignment or discussion, making it accessible to your instructor and/or peers.


Click 


Now that you’ve finished your video, Kaltura will automatically generate captions. Once they’re generated, they will be accessible both on the video in My Media and once you embed the video in an assignment or discussion.
Want to check out your captions?
Once saved, select ‘Go to Media’ next to the Save button to be brought to the video directly.
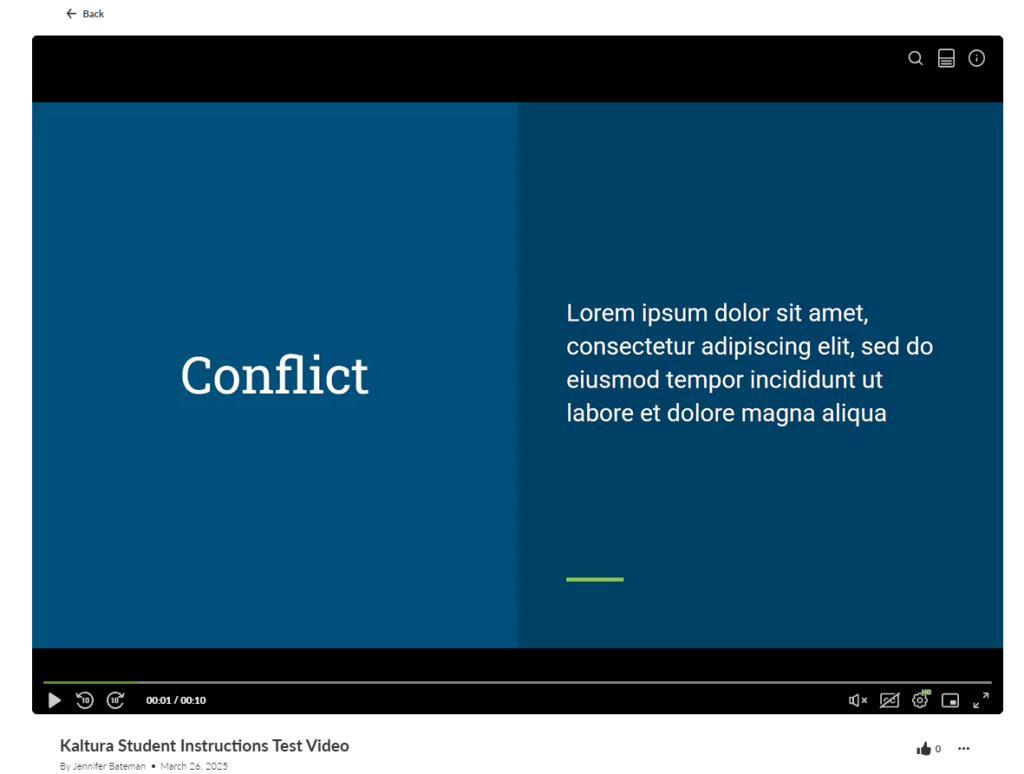

Select the ![]()
![]()


If needed, you can edit your captions by selecting Edit, clicking the Captions tab, and choosing 


This will bring you to the Closed Captions Editor where you can change the captions if needed, and then click 


Step 5: Embedding your video into an assignment or discussion
After you finish recording and save the video to My Media, you can easily embed your video to submit it to an assignment or discussion. Enter the assignment or discussion, and locate the


![]()
![]()
![]()
![]()
![]()
![]()


Once you click it, it will prompt you to choose how to embed your media. Choose![]()
![]()
After selecting Add from Library, it will display your recorded videos, and you can choose 


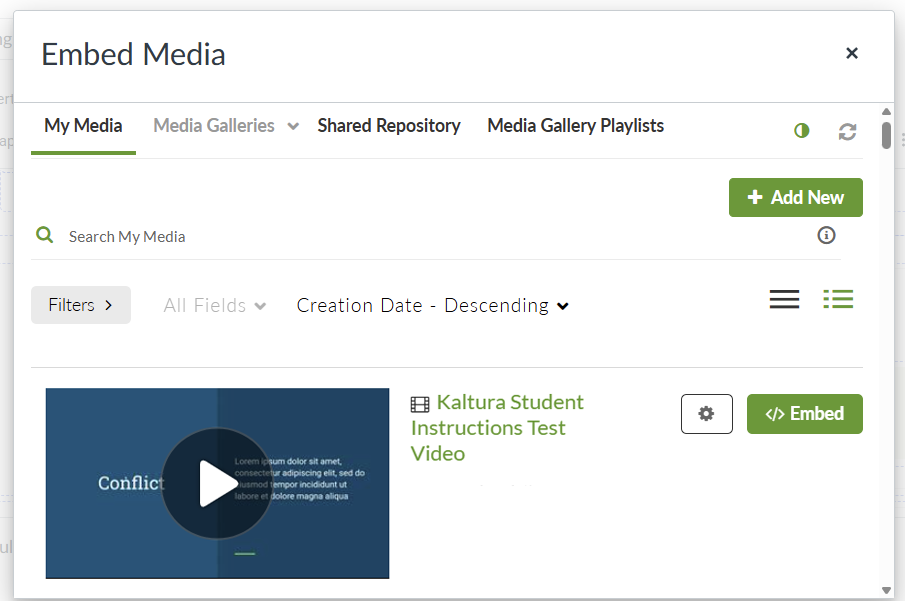

Your video will display in the submission box, and you can then submit your assignment or discussion! See more details in the next section.
Using Kaltura within an Assignment
Recording your video directly within an Assignment in Kaltura is very similar to using My Media.
Step 1: Navigate to your assignment and hit ![]()
![]()


It will bring you to the submission box:


Step 2: Choose 


![]()
![]()
![]()
![]()


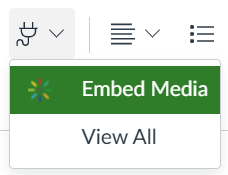


Once you click it, it will prompt you to choose how to embed your media.


Step 3: To record your video directly within the assignment, select ![]()
![]()
![]()
It will then prompt you to record your video. By default, the camera and microphone will be on.
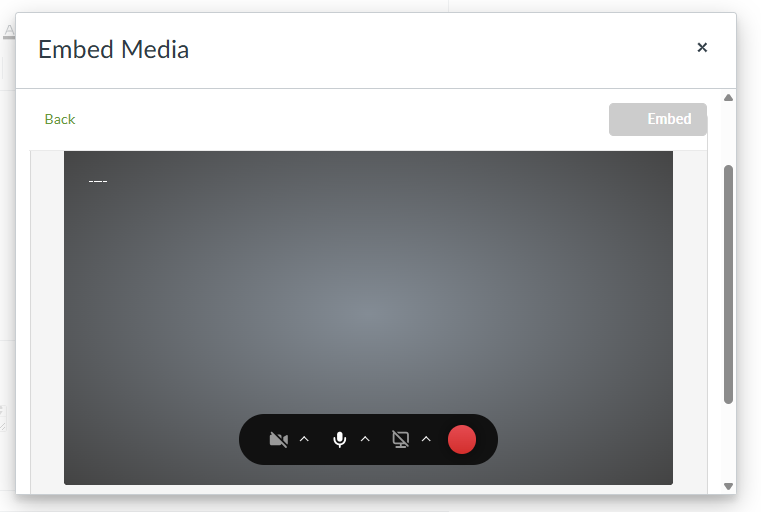
Reference the steps above to record and finalize your video. Once you record your video, you will be able to preview it and if needed, re-record.
Step 4: Once you’re happy with your video, select 


Canvas will confirm with you that you want to submit your video for the assignment. Click yes.

It will let you know once your upload is complete, and you can then choose

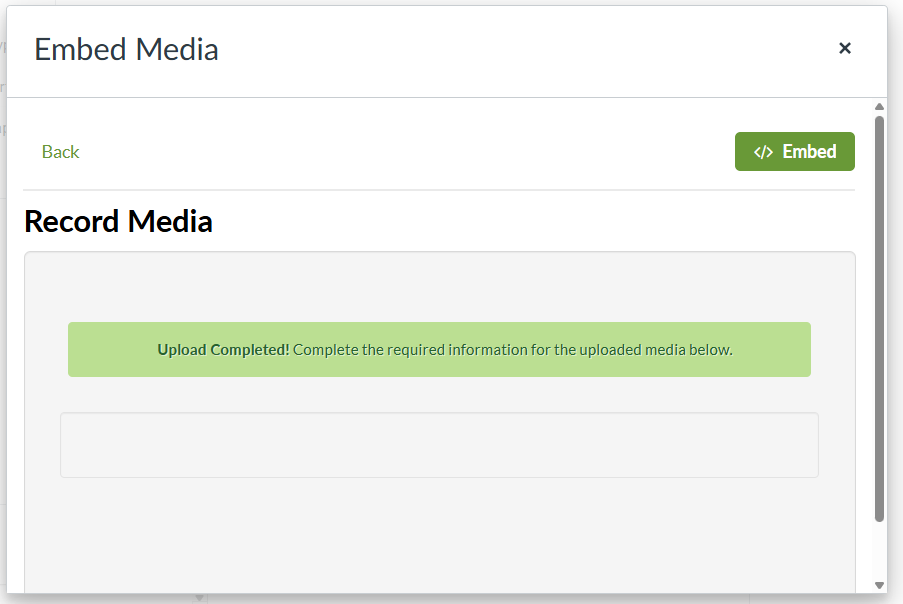

Note: your video may take a few moments to process. You may see this after embedding the video.


Once your media is done processing, it will show embedded in the text entry area.
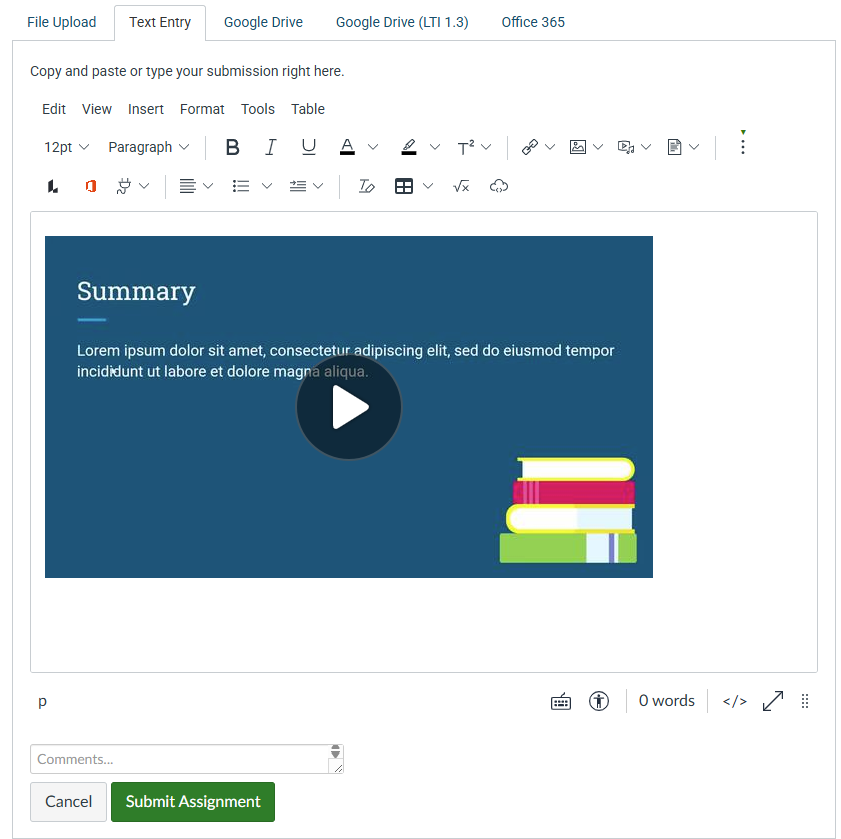

Step 5: Click submit assignment.
Using Kaltura within a Discussion
You may be asked to record your webcam or screen for a discussion.


Step 1: Navigate to the Discussion and click
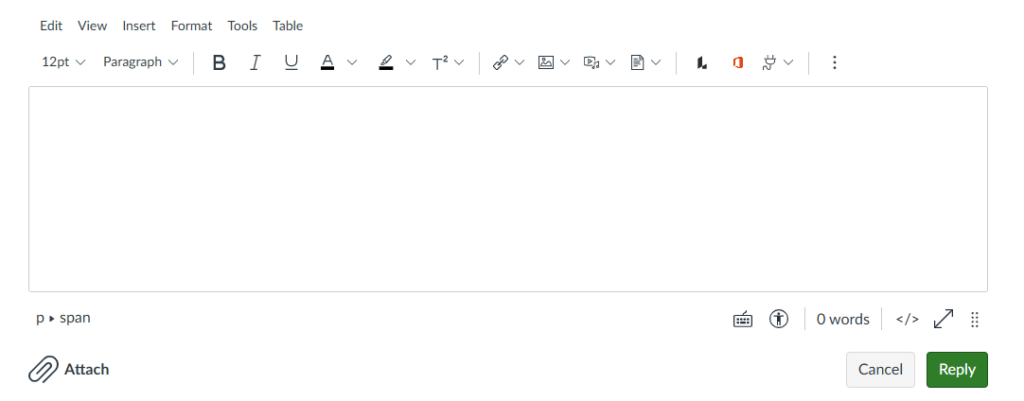

You’ll then be prompted to do the discussion in a text box.
Step 2: Locate the in the navigation bar at the top, and choose Embed Media. If it is not visible, select the three vertical dots![]()
![]()
![]()
![]()


Step 3: From here, you can choose ![]()
![]()
![]()
It will then prompt you to record your video. By default, the camera and microphone will be on.

Reference the steps above to record and finalize your video. Once you record your video, you will be able to preview it and if needed, re-record.
Step 4: Once youre happy with your video, select 


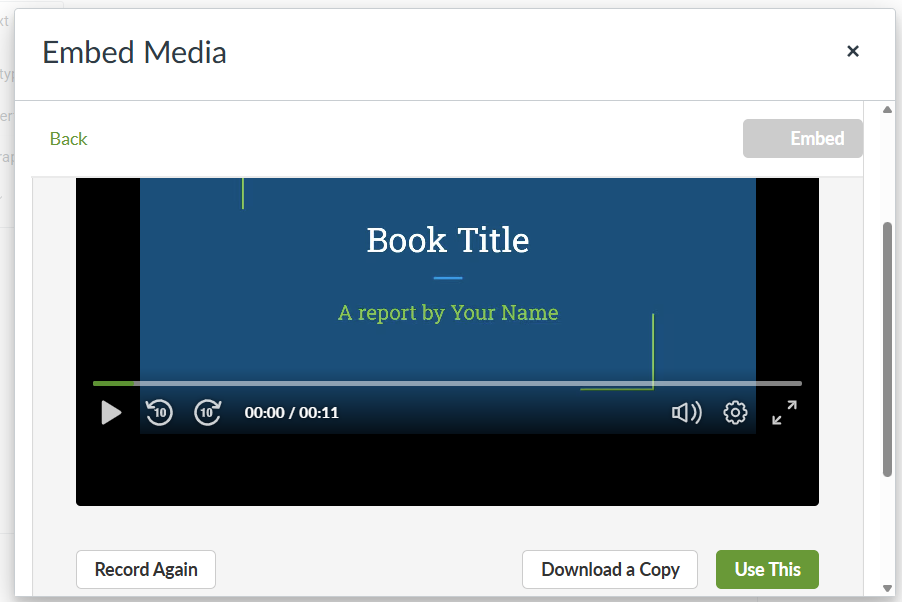

It will let you know once your upload is complete, and you can then choose


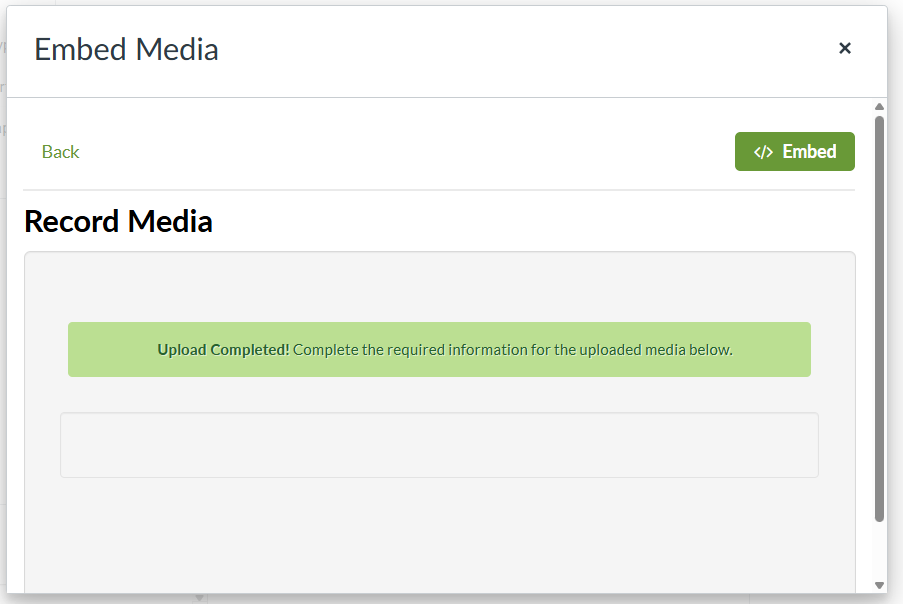

Note: your video may take a few moments to process. You will see this after embedding the video.


Once your media is done processing, it will show embedded in the text entry area.
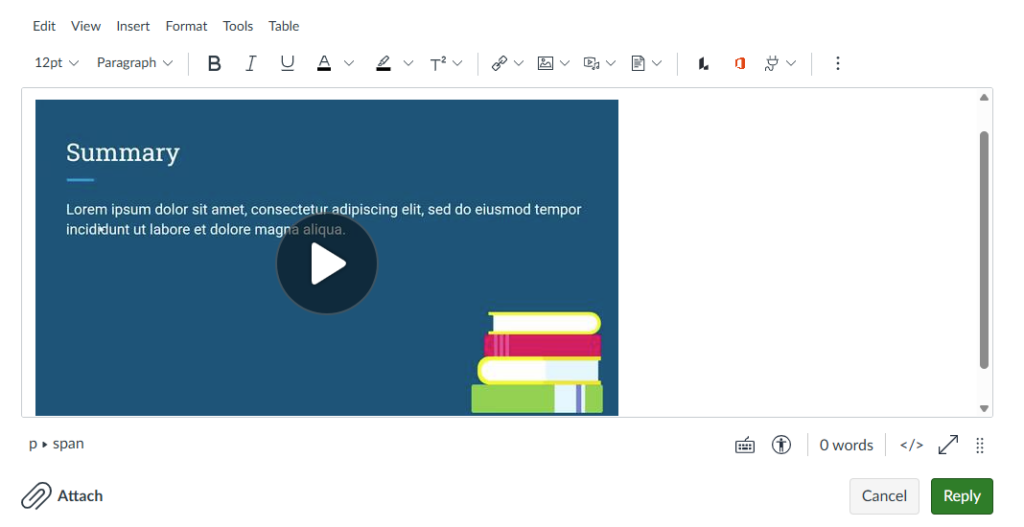

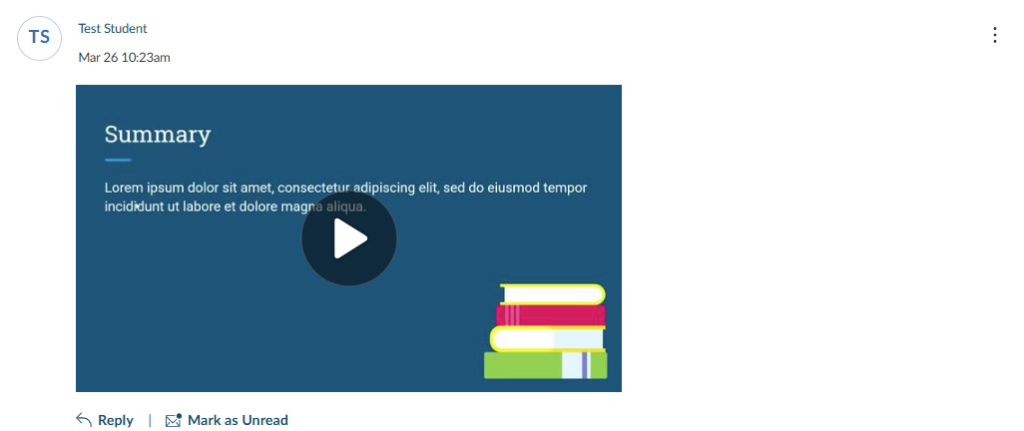
Step 5: Click


Having Trouble?
Kaltura provides tutorials for how to navigate the platform in the Kaltura Knowledge Base.
https://knowledge.kaltura.com/help/express-capture
Unity Environmental University also has an IT Help Desk available to help you: unitysupport@unity.edu
